
TECHNICAL DOCUMENTS

TAC DINE Application, Specifications & Technical Documents

Crack-repair principles, fiber-reinforcement application steps, product specifications, Safety Data Sheets and test documents organized by product.

Document language

All linked technical documents are original Japanese-language PDFs. Each card includes a concise English summary for orientation; the Japanese PDF remains the source document.

CRACK REPAIR PRINCIPLES

Do not apply one repair method to every crack

Fiberdine’s technical paper classifies cracks by width as a practical guide because the resin properties and repair approach required can differ. Actual selection should also consider possible resin loss and substrate condition.

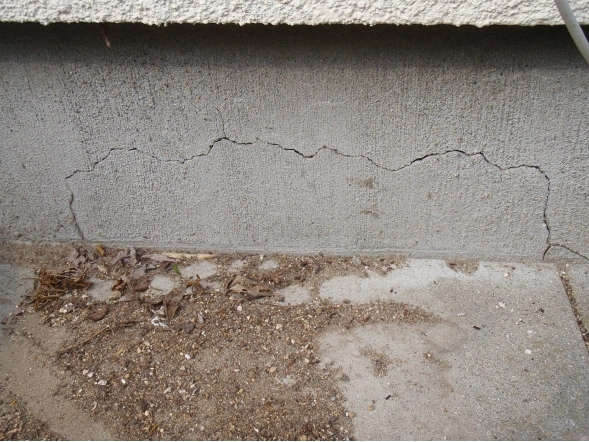
Example crack in a concrete foundation
Assess the crack condition before selecting the repair method.
TYPE A

Large cracks: 5 mm or more

Viscosity
High
Cure time
Shorter

Because a larger resin volume is involved, the risk of resin loss or deformation increases. A relatively high viscosity and shorter cure time may therefore be required, with the method selected to suit the site condition.

Site assessment takes priority
TYPE B

Medium cracks: around 1 mm to several mm

Viscosity
Medium
Cure time
Medium

The concept is to retain resin inside the crack while allowing post-injection penetration into finer areas. TD-Cartridge uses 2 mm or more as the guideline for pressure injection.

View TD-Cartridge ↗
TYPE C

Hairline cracks: 0.5 mm or less

Viscosity
Low
Cure time
Longer

Low viscosity and penetration are important because resin needs time to enter the fine crack. CP-10 is used for hairline cracks up to 0.5 mm without special pressure-injection equipment.

View CP-10 ↗
TYPE B / PRESSURE INJECTION

Medium cracks: injection sequence in the technical paper

1Seal the crack surface with M-1 or equivalent 2Drill 8 mm toward the crack center 3Insert C Plug 4Pressure-inject TD-Cartridge 5Finish after confirming fill

TD-Cartridge uses 2 mm or more as the guideline for pressure injection.
TYPE C / PENETRATION

Hairline cracks: M-1 + CP-10 penetration repair

The technical paper describes a method using M-1 and penetrating crack adhesive CP-10 without special pressure-injection equipment.

In one documented test using an approximately 0.2 mm hairline crack, resin penetration across almost the entire internal crack was recorded in about eight minutes after application. This is a test-condition result, not a jobsite performance guarantee.

APPLICATION PROCEDURE

TAC DINE Fiber-Reinforcement Method

Review the sequence from work-area selection and substrate preparation through resin application, reinforcement-fiber placement, consolidation and topcoat. Crack repair, when required, is selected separately and completed beforehand.

View crack-repair principles
PRE-APPLICATION CHECKMaterials, tools and key precautions
MATERIALS

Basic materials

TAC DINE resin, reinforcement fibers and a scale when dividing resin into smaller batches.

SUBSTRATE

Surface preparation

Work gloves / mask, wire brush, masking materials and a grinder when required.

APPLICATION

Application tools

Roller, rubber spatula, brush and other auxiliary items appropriate to the work conditions.

  • Confirm that the selected product is suitable for the application temperature.
  • Larger mixed quantities can react more quickly. Divide into smaller batches when necessary and measure the specified ratio accurately.
  • Mix base and hardener thoroughly, including the corners of the container.
  • For this fiber-reinforcement method, clean and dry the application surface before coating. This is a different application from the damp-surface capability of TD-Cartridge.
  • Cure time varies with temperature. Use ventilation, masks and other appropriate protective measures.
STEP 01

Define the work area

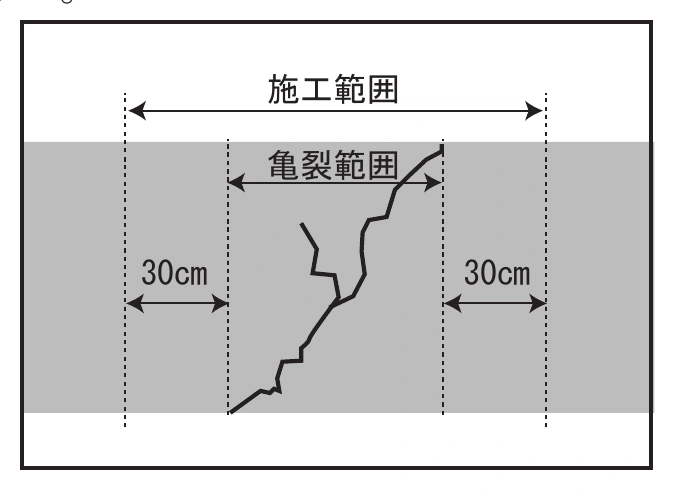
Decide whether reinforcement will be partial or full-area. For partial work, the source procedure uses a work area extending at least 30 cm beyond both ends of the crack.

30 cm+Extend beyond both ends of the crack
Crack in a concrete foundation before work
Assess the existing condition
Partial work area extending beyond a crack
Partial-work area
STEP 02

Prepare and protect the substrate

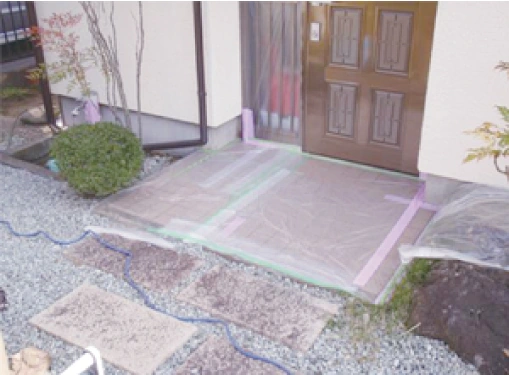
Remove loose decorative mortar or weak material, smooth the surface with a wire brush or equivalent, and remove dust and contamination. Protect adjacent areas from resin.

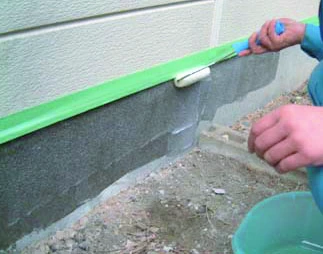
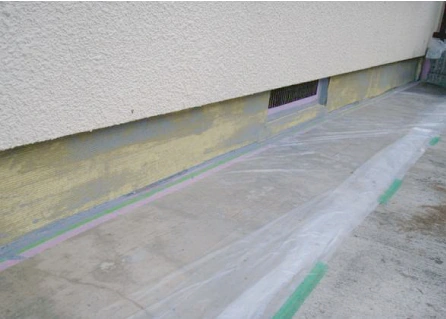
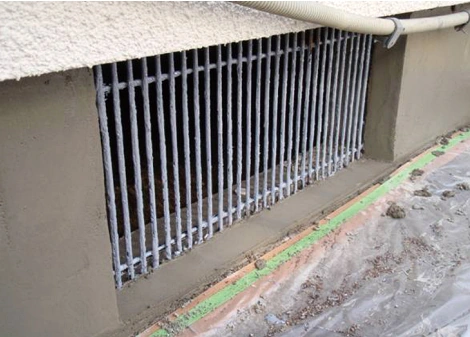
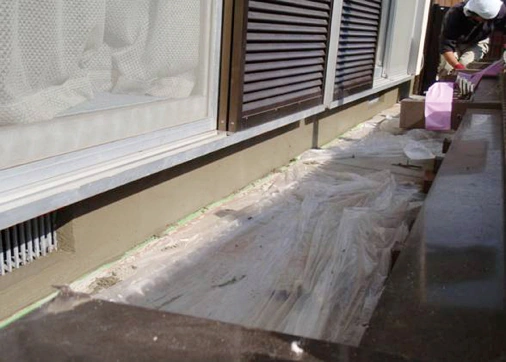
Masking around a residential foundation
Protection / masking
STEP 03

Primer and defect repair when required

Apply primer to the prepared surface. PS-10(G) is currently out of production. For this primer step, use solvent-free PE-10GⅡ after confirming the current product documents and site conditions.

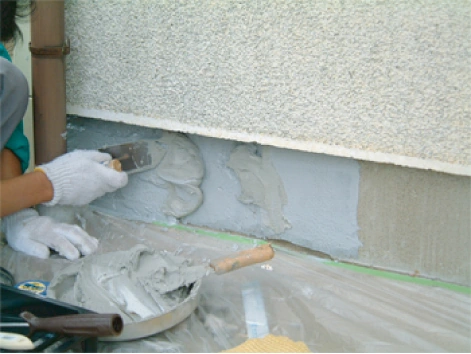
Where the foundation has a major defect, fill it after primer treatment and restore a smooth surface.

PS-10(G)Production is currently suspended. Confirm the current applicable material and product documents for the primer step.
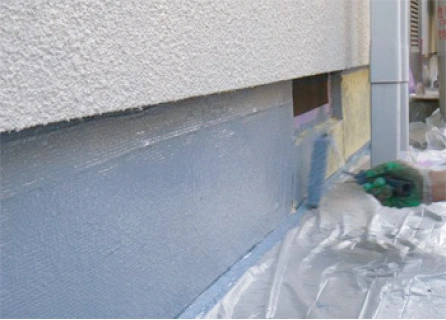
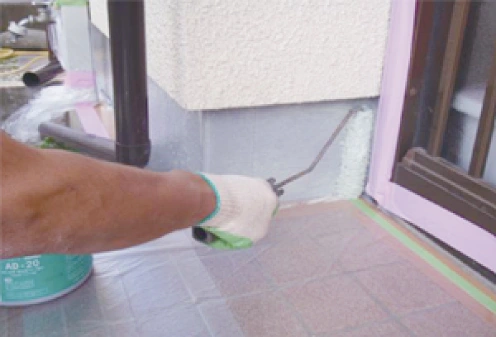
Primer being applied to a concrete foundation
Primer application
Repair of a foundation defect with putty
Defect repair example
STEP 04

Apply the base coat

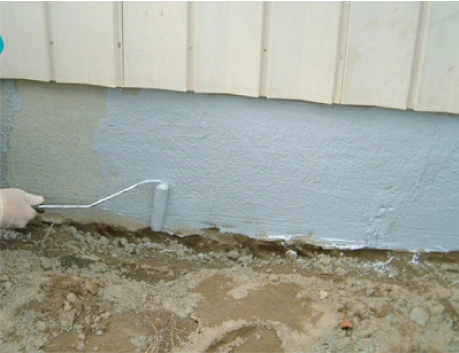
Apply resin to form the bonding base for the reinforcement fiber. PE-10GⅡ or AC-100Ⅱ are identified as resins used with the reinforcement fibers; use a roller to create a uniform layer suitable for fiber impregnation and adhesion.

Follow the applicable product specification and application conditions for material selection and resin quantity.

Base resin coat on a concrete foundation
Base coat
STEP 05

Place the reinforcement fiber

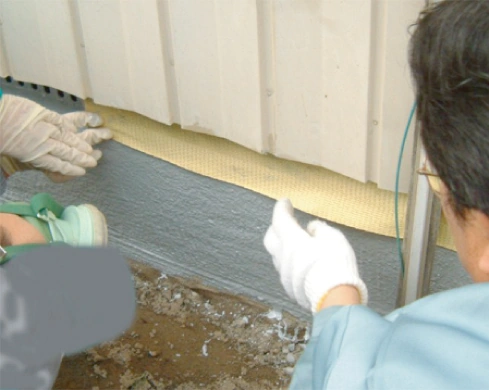
Place the reinforcement fiber before the base coat cures. Press the sheet lightly into position and confirm resin penetration from behind the sheet.

Placing reinforcement fiber on a concrete foundation
Fiber placement
STEP 06

De-air and consolidate

Remove air from behind the sheet and consolidate the reinforcement layer. Use a de-airing roller or other suitable method when required so resin is distributed through the fiber layer.

De-airing and consolidating a reinforcement-fiber layer
De-air / consolidate
STEP 07

Topcoat and integrate the reinforcement layer

Apply resin over the reinforcement fiber so the fiber layer is integrated between the resin layers. During cure, protect the surface from contact and from rain or water when exposure is possible.

Topcoat over reinforcement fiber
Topcoat
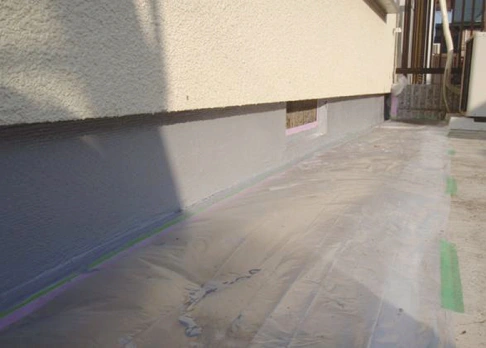
Completed TAC DINE reinforcement work
Completed work
OPTIONAL FINISH

When a mortar finish is required

Keep the finishing process separate from the core reinforcement sequence. AD-20 can be used when a mortar finish is specified.

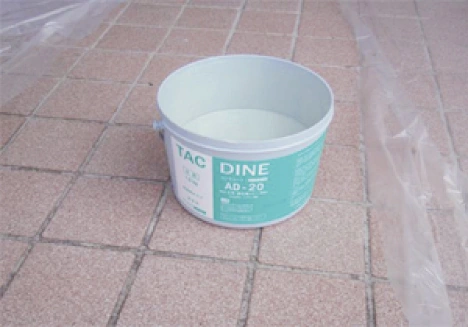
TAC DINE AD-20
01 Prepare AD-20
Applying AD-20
02 Apply AD-20
Applying mortar after AD-20
03 Apply mortar
Completed mortar finish
04 Finish
View AD-20
Penetrating adhesion / repair

TAC DINE CP-10

Product information ↗
Concrete protectionProduction temporarily suspended

TAC DINE PS-10(G)

Product information ↗
Wood repair / reinforcement

TAC DINE AL-100

Product information ↗
Injection / repair

TAC DINE TD-Cartridge

Product information ↗
Penetrating water glass for concrete

NK Glass Primer

Product information ↗

REINFORCEMENT FIBERS

Reinforcement-Fiber Documents

Application, test and technical documents for reinforcement fibers.

View reinforcement fibers